Posts tagged kit
Ravensbourne 2012
Ravensbourne 2012 is the end of year show run solely by students to show case students work to their respective industries. As for 3D Storytelling my role is as head of rigging and logistics. This has involved working a lot closer to the directors of the event rather than working within the engineering group.
The main task that I have faced with Ravensbourne 2012 has been lighting for the 4th floor. Originally fashion wanted to put there show on level 7 but this would have made lighting it physically impossible due to the height of the ceiling and logistically it wouldn’t be possible to have the number of people that they wanted in that space. Russell and myself talked them round to holding the show on the 4th floor which is a much better space to work in but still has many challenges first of which was designing a light weight structure that was strong enough to take more lights than we had last year. Due to the weight restrictions on the floor I had to put an extra 4 ground supports in to spread the load over the floor. Overall the maximum load that I can put onto the floor is 4 tons but I can’t have more than 500KG at any one point. This has definitely been my biggest engineering challenge this year, if we had been allowed to fly the structure off the RSJ’s on the ceiling above the 4th floor I would have never faced this issue and the space would look a lot cleaner than its going to, but we all have to make compromises.
Working so closely with the management team has posed its own issues as Russell and myself have been rather segregated from the engineering team and been in the level 1 office most of the time, this is something that we had to do however as the event would not run without us. The hours that we have put into this has been tremendous, planning almost everything and trying to fix all of the logistical/engineering problems and picking up the slack when needed. I have also had a couple of run in’s with the management team on some of their decisions, the main one being over stage electric. After 3D Storytelling I did some deals with stage electrics for Ravesbourne 2012 with the managing director of Ravensbourne 2012 but the rest of the management team did not agree and felt that we could get a better deal elsewhere. This was not true as the kit they were asking for from other companies was not what I had specified for the rig. Eventually a very last minute decision was made to go with my original plan, as it was the best deal on the table.

SeeIT
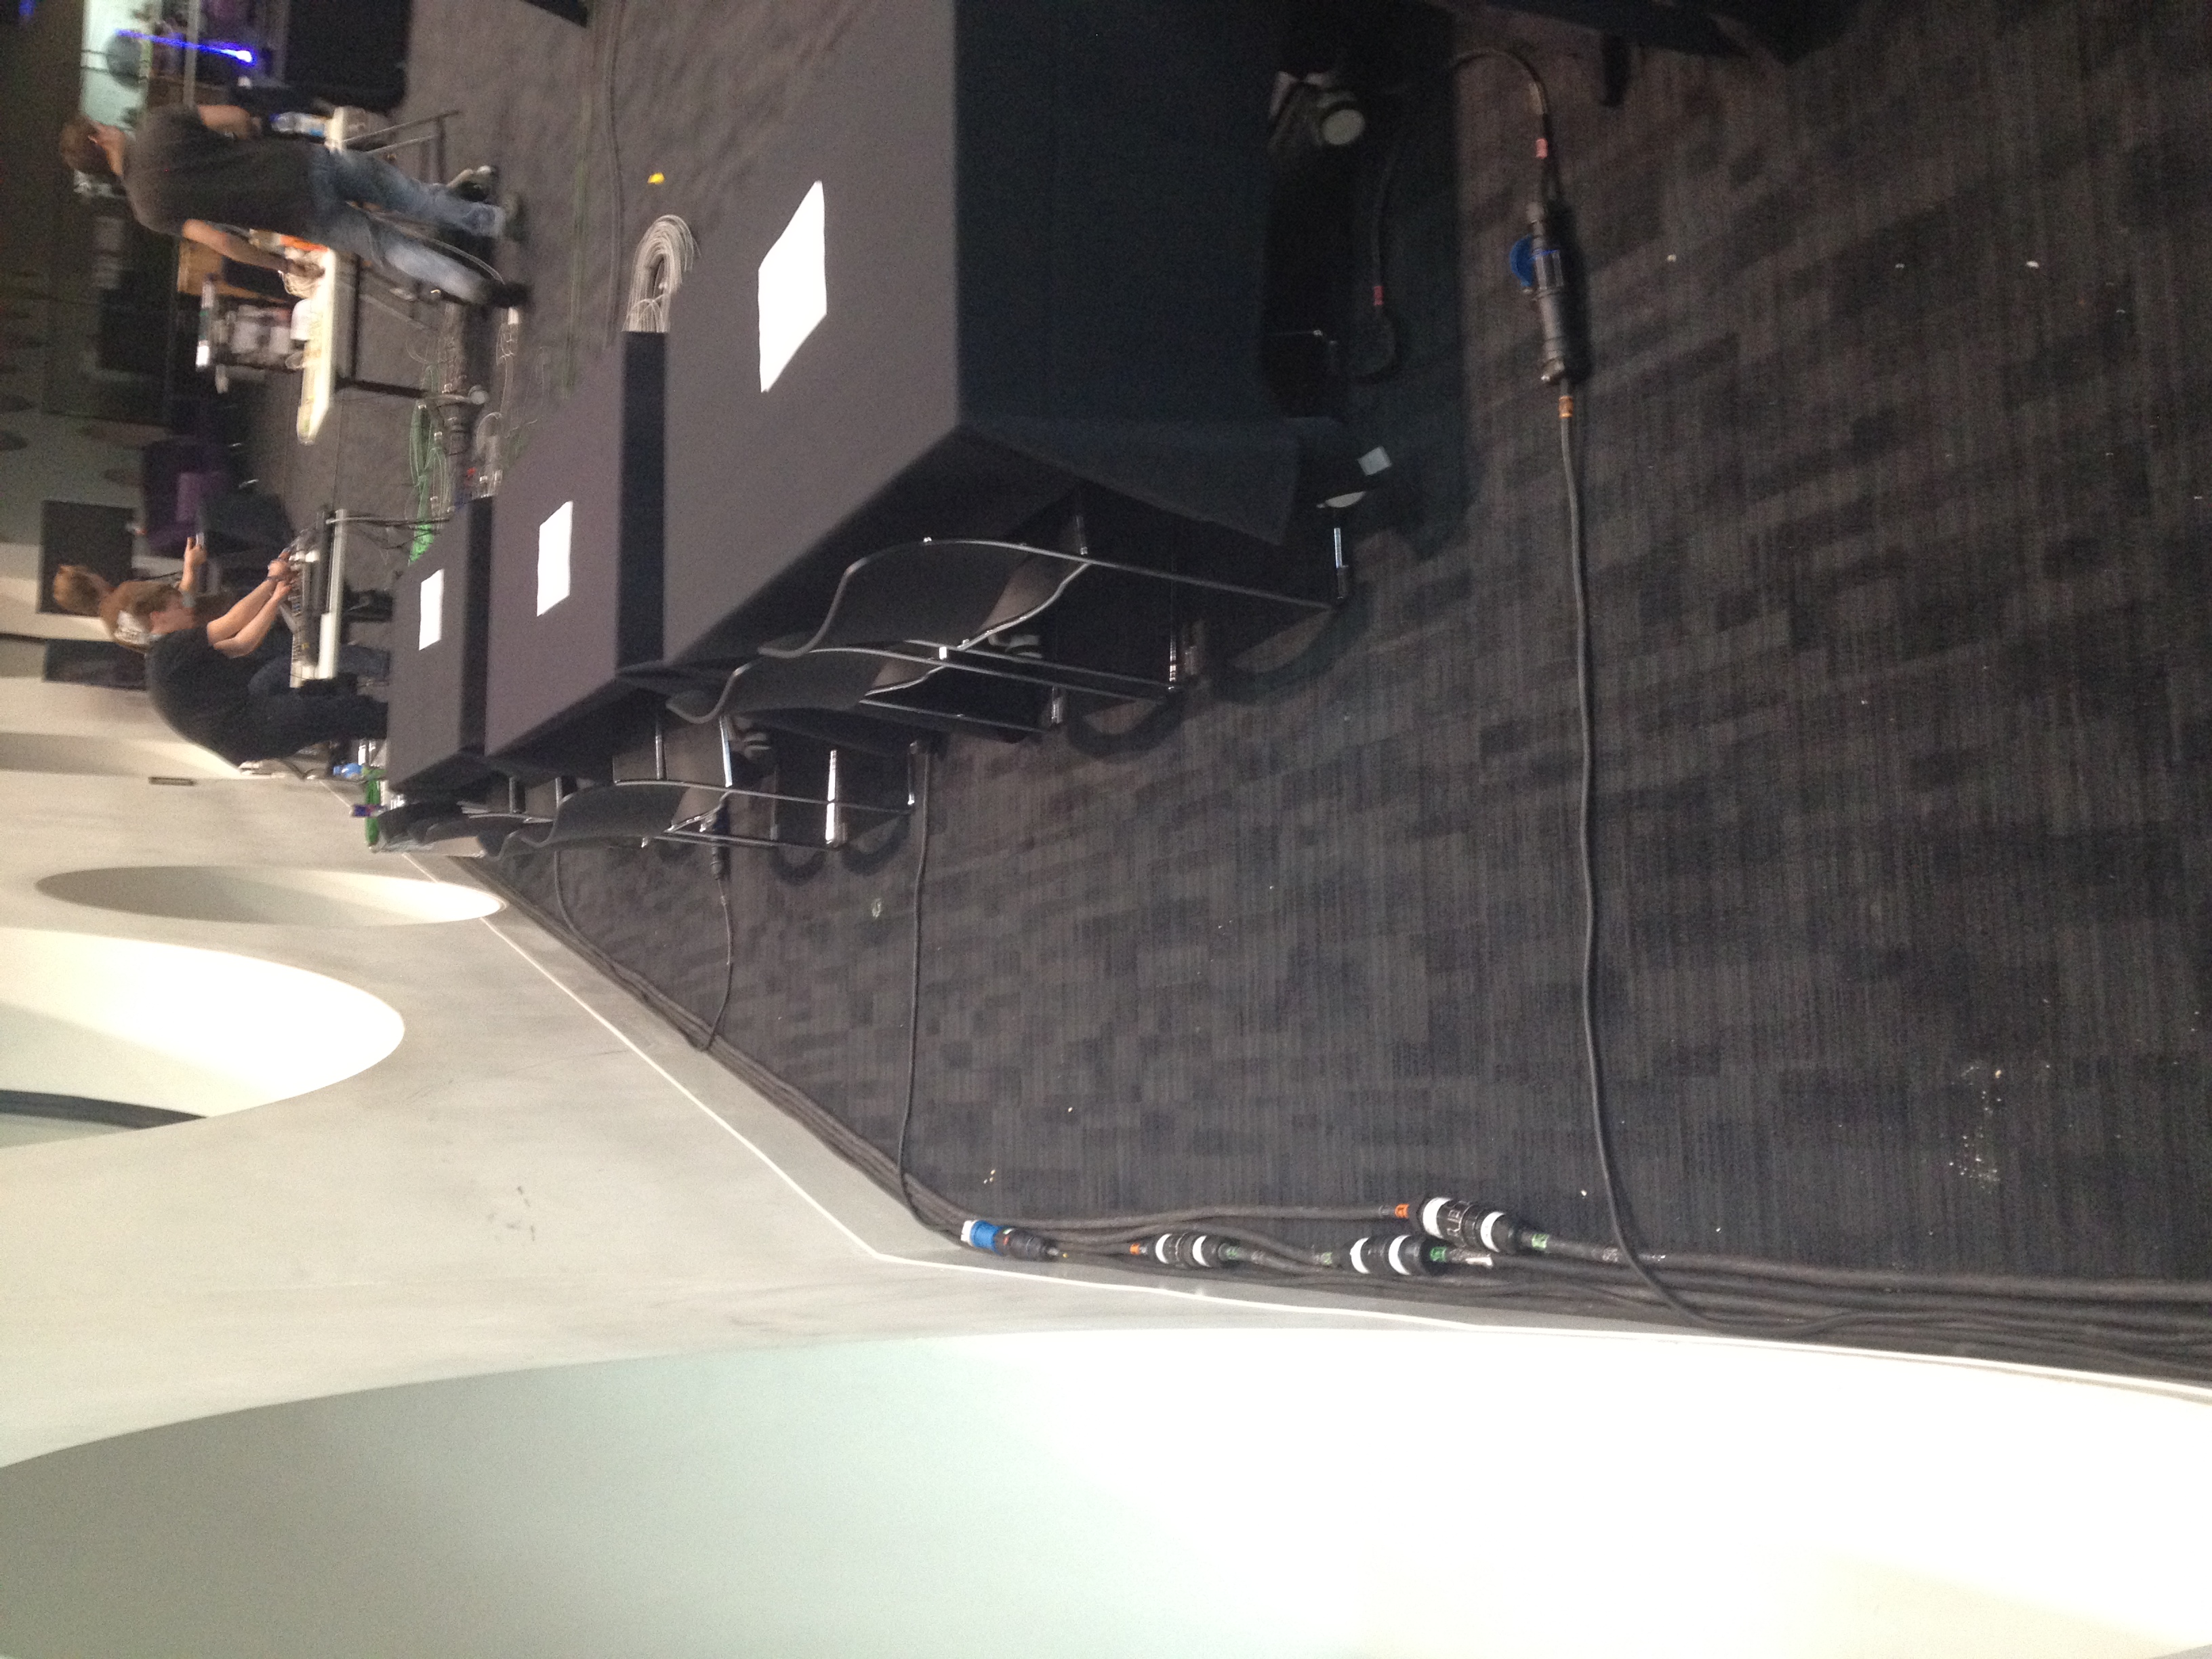
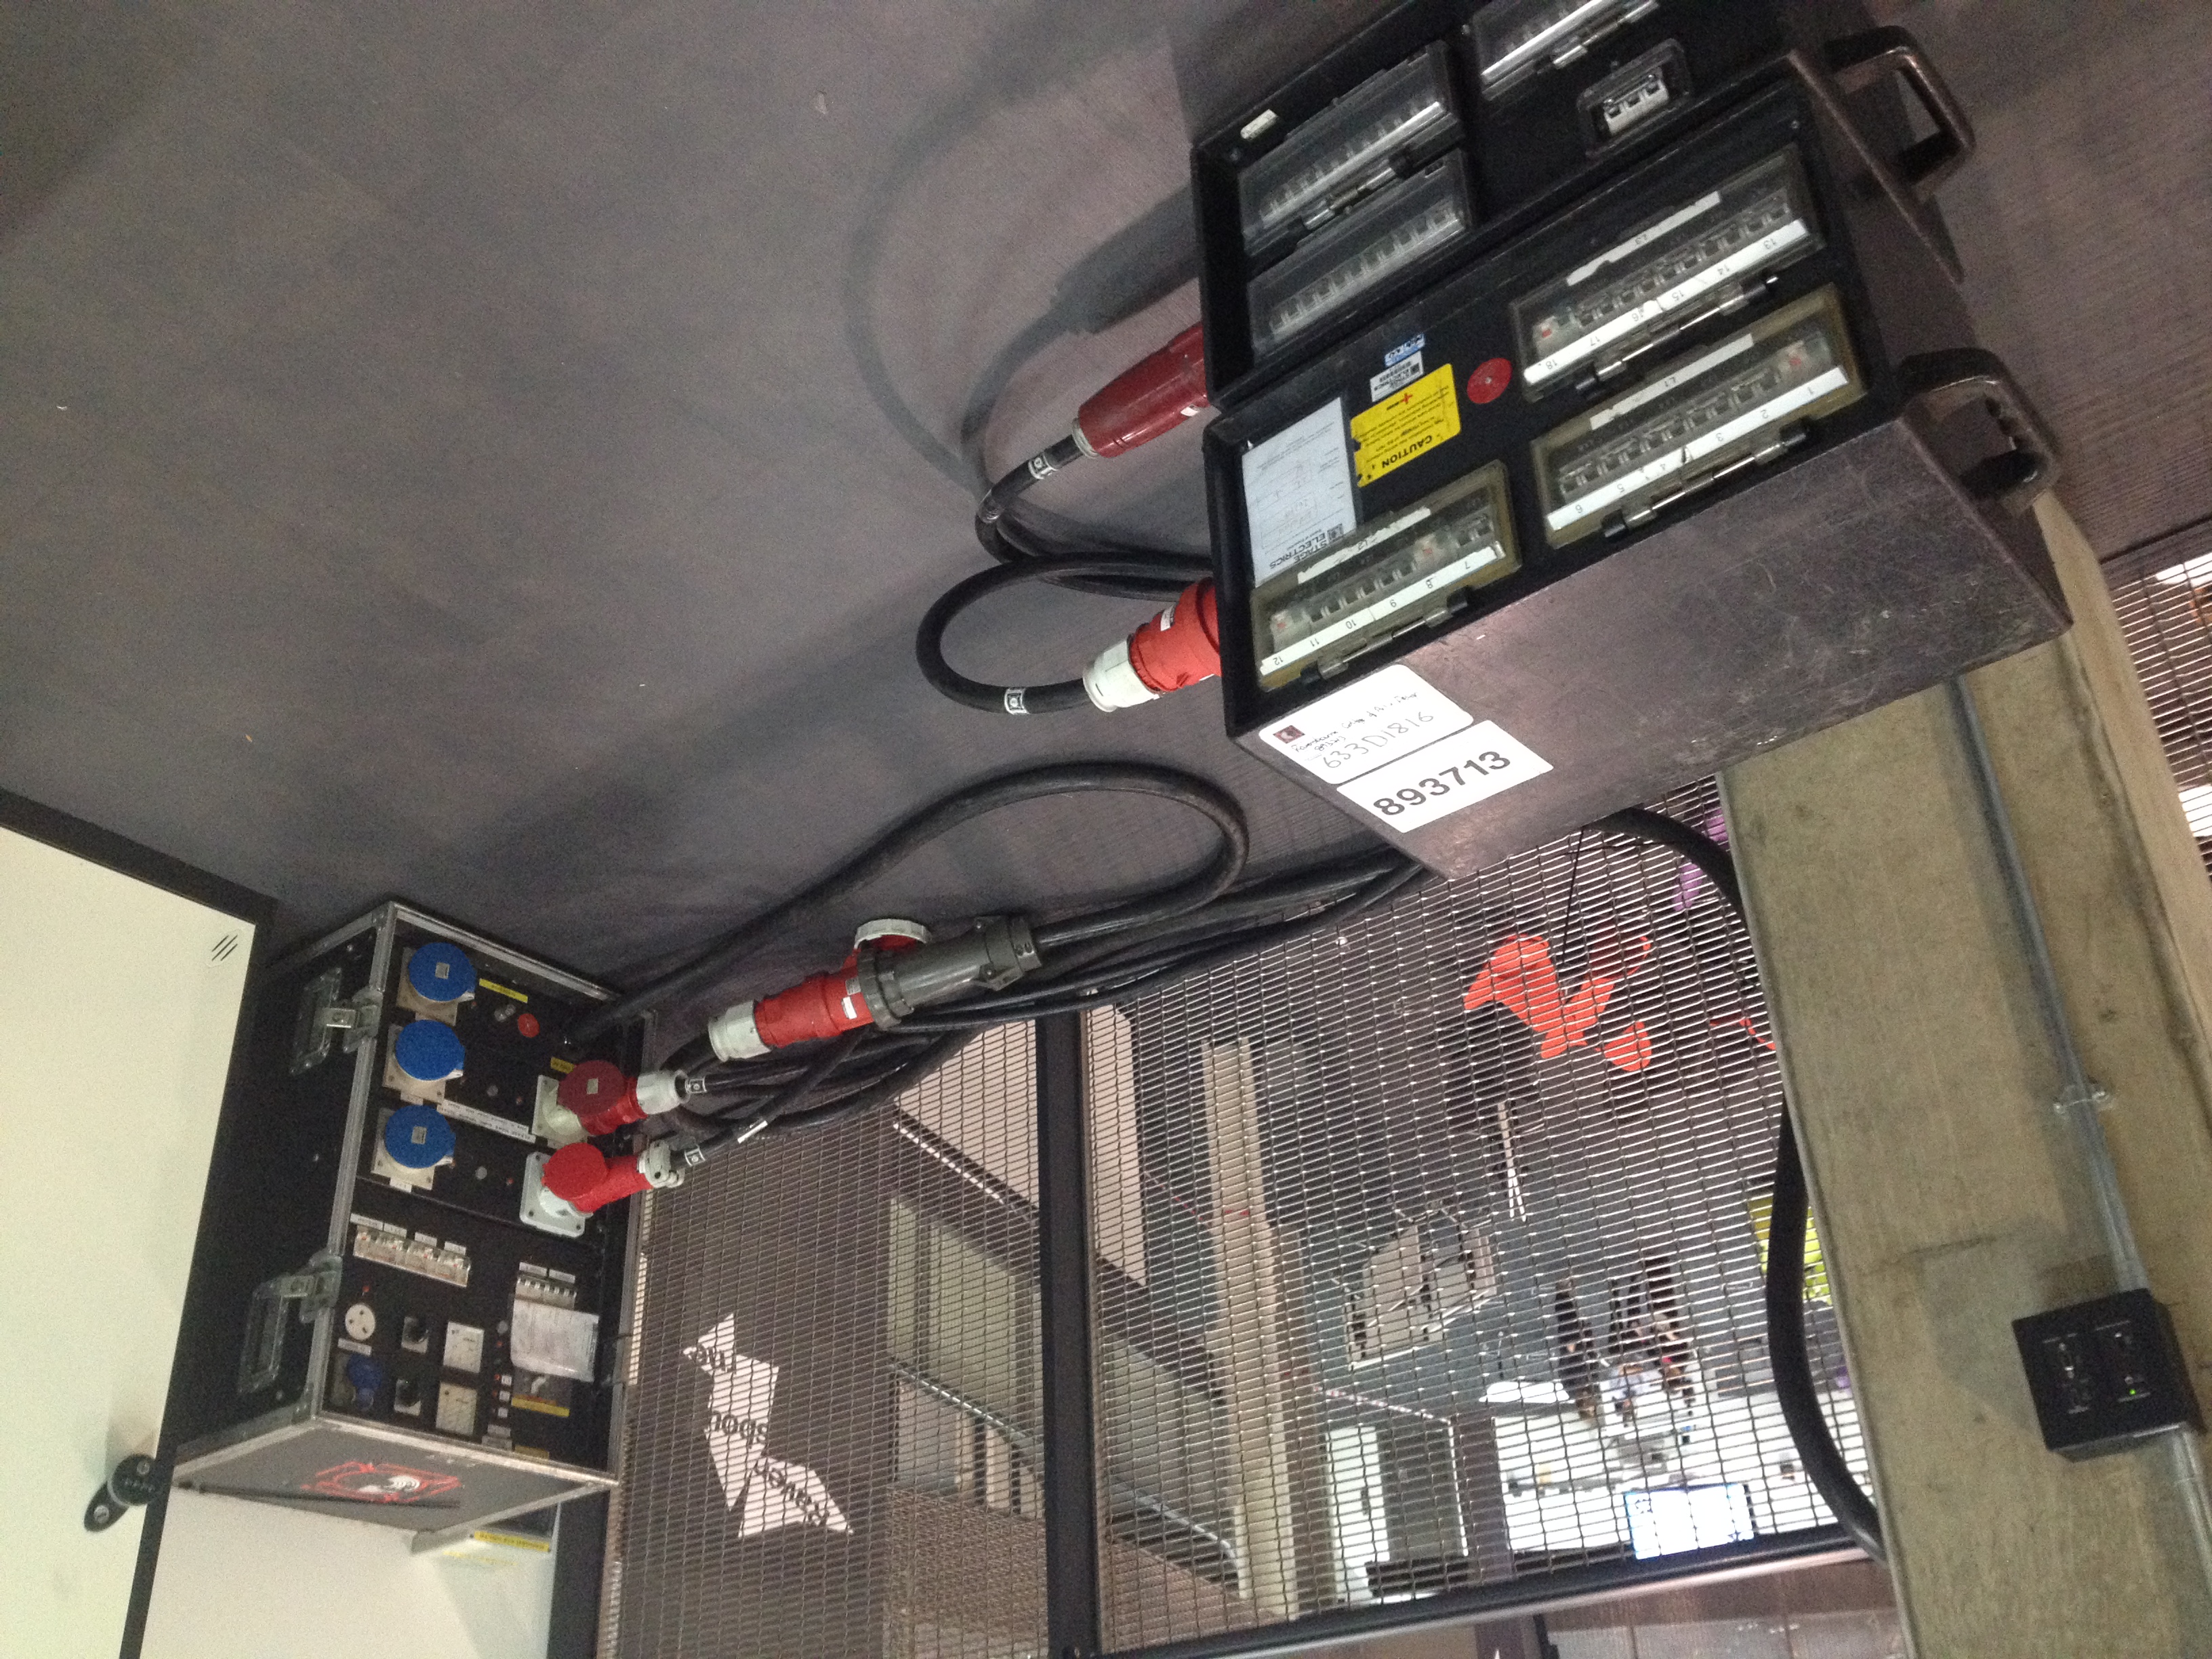
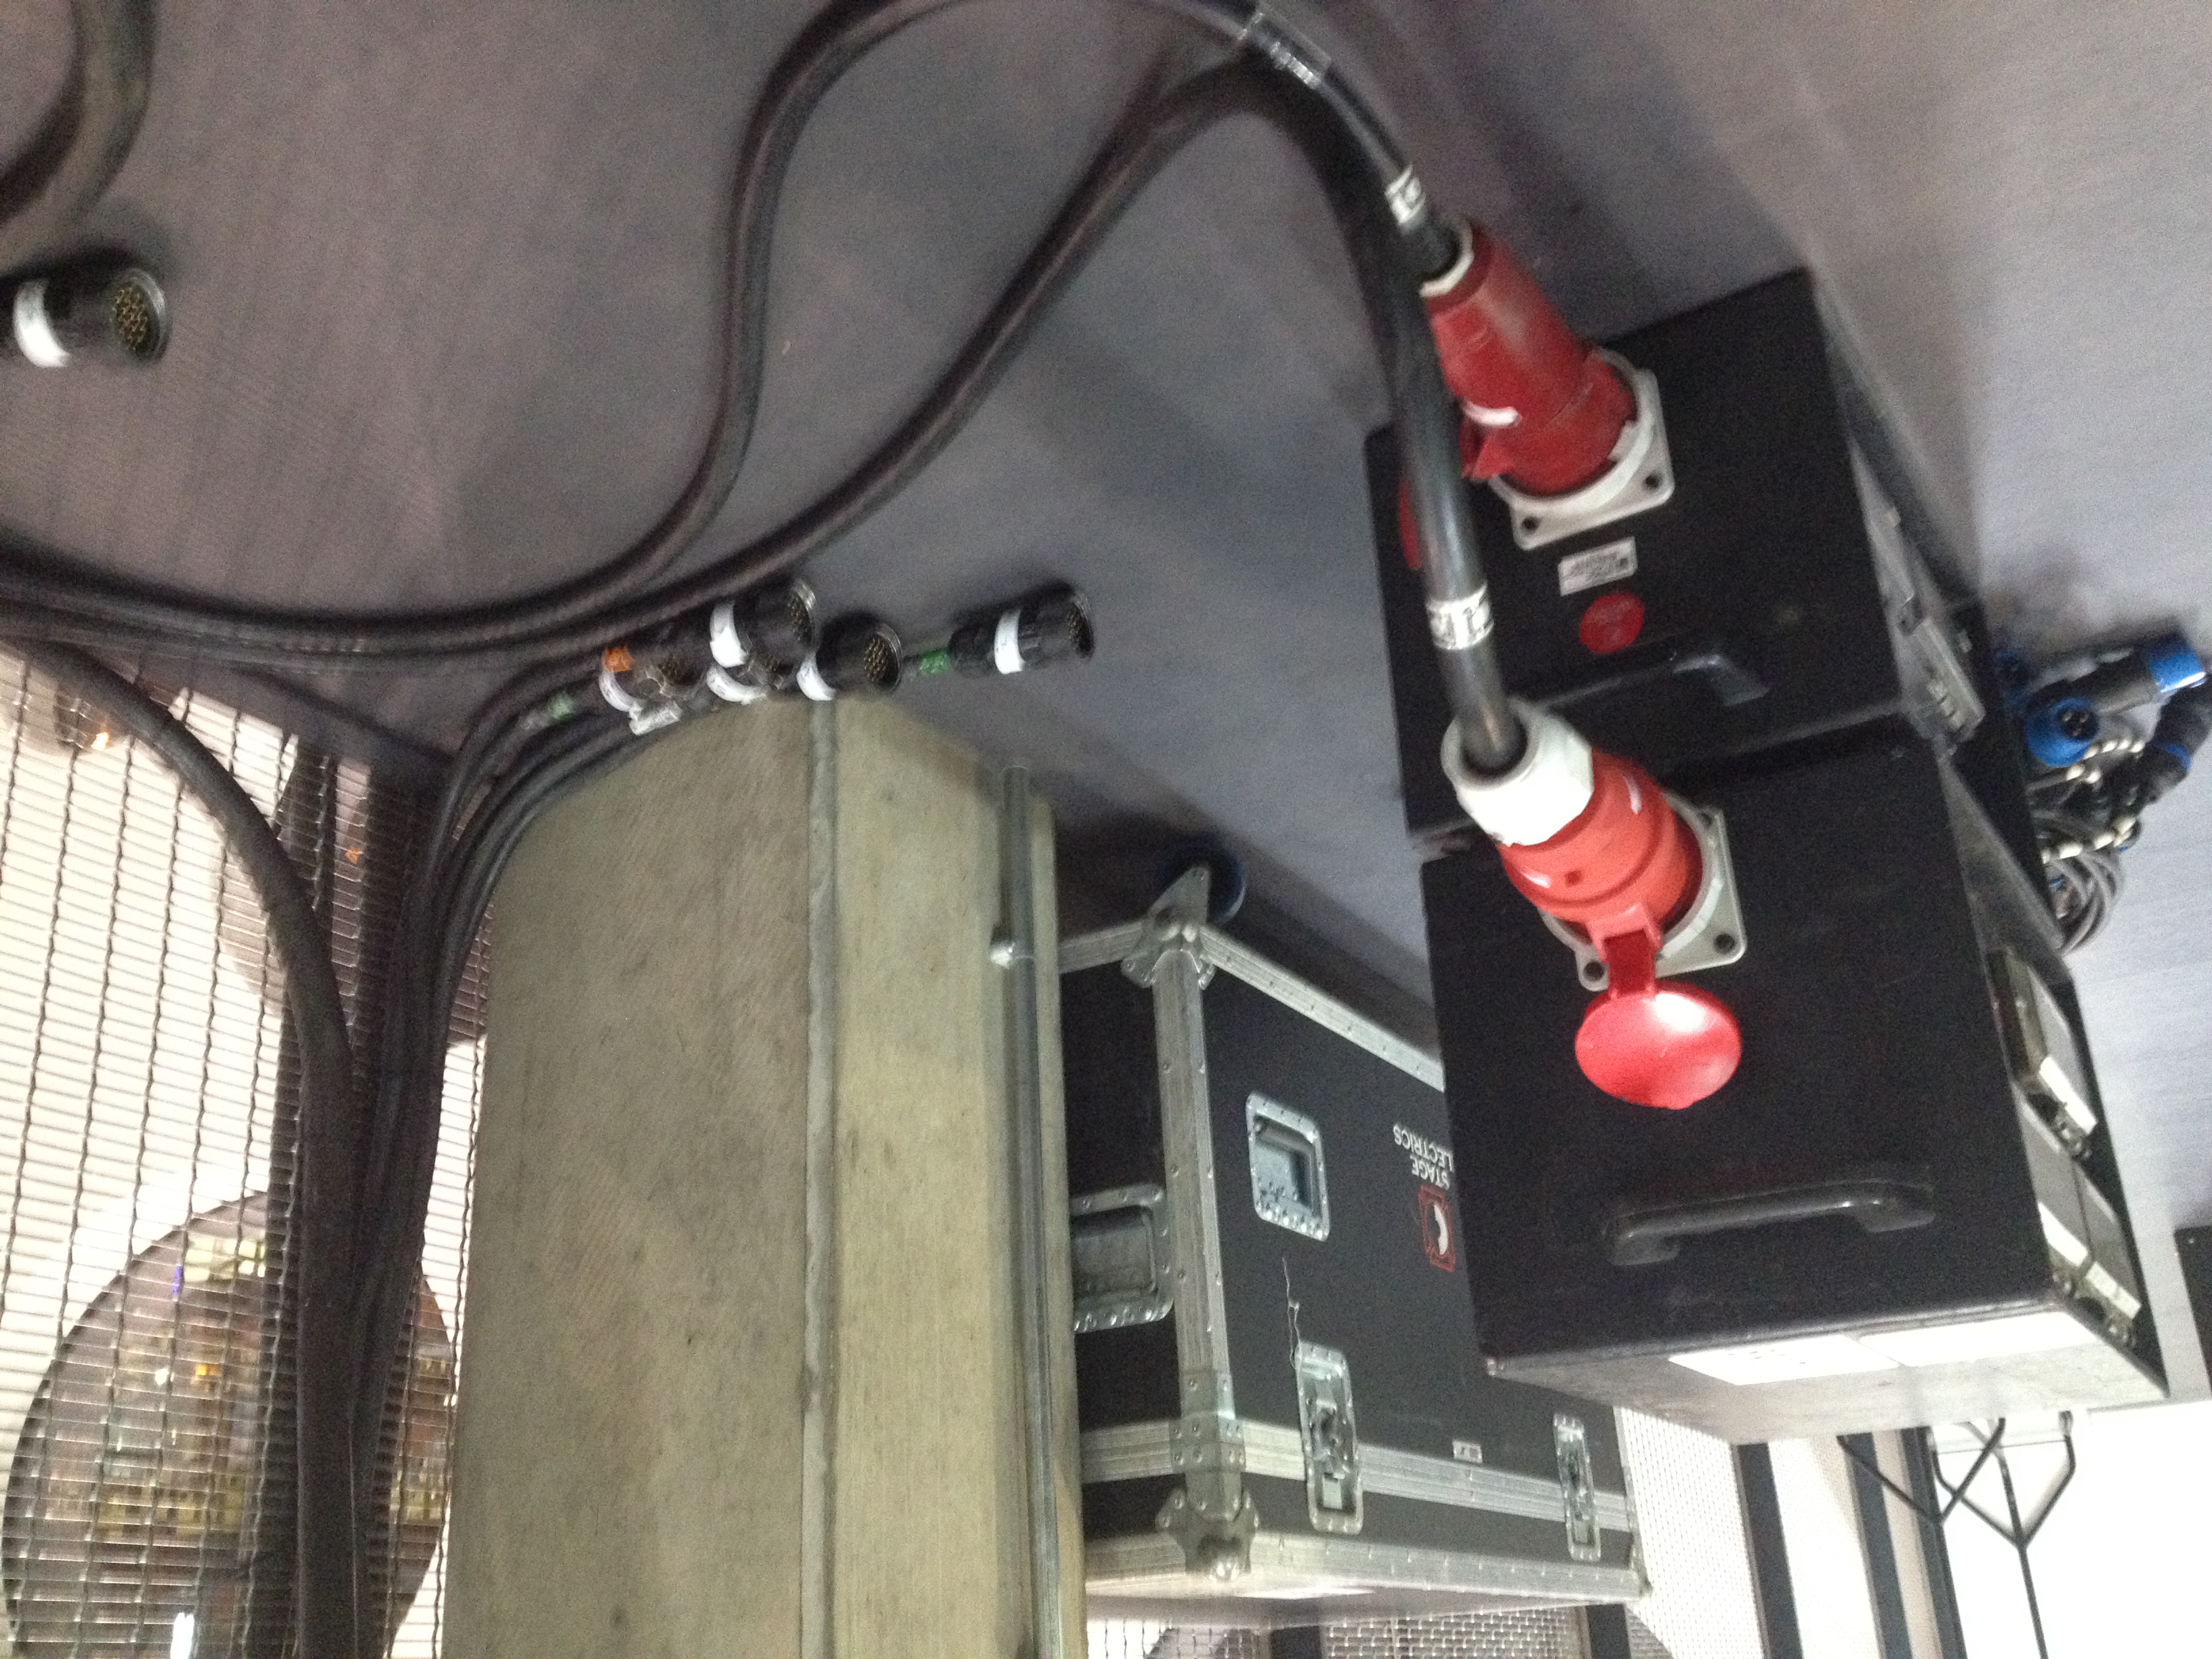
Today we are providing power for a small (25 stall) event at Ravensbourne on Level 4. For this event we were asked to provide power for 30 stalls and a few lights, all requiring hot power. Each stall was provided with 2 x 13A socket with enough power to run a couple of TV’s and Laptop’s each up to a maximum of 16amp’s per stall.
The events main supply was from a single 125A 3ph which was then split down to two 63A 3ph supplies, before being split down to individually protected 16amp circuits for each stall. This gave us plenty of protection against overloads as well as surges and faults. The system has fault protection at 3 levels before it tripped out the whole event, each 16A feed has its own RCD, each group of 18, 16A sockets had there own 63A 3ph MCB protection and the whole event had 125A 3ph RCD and MCB protection at supply and in distribution.
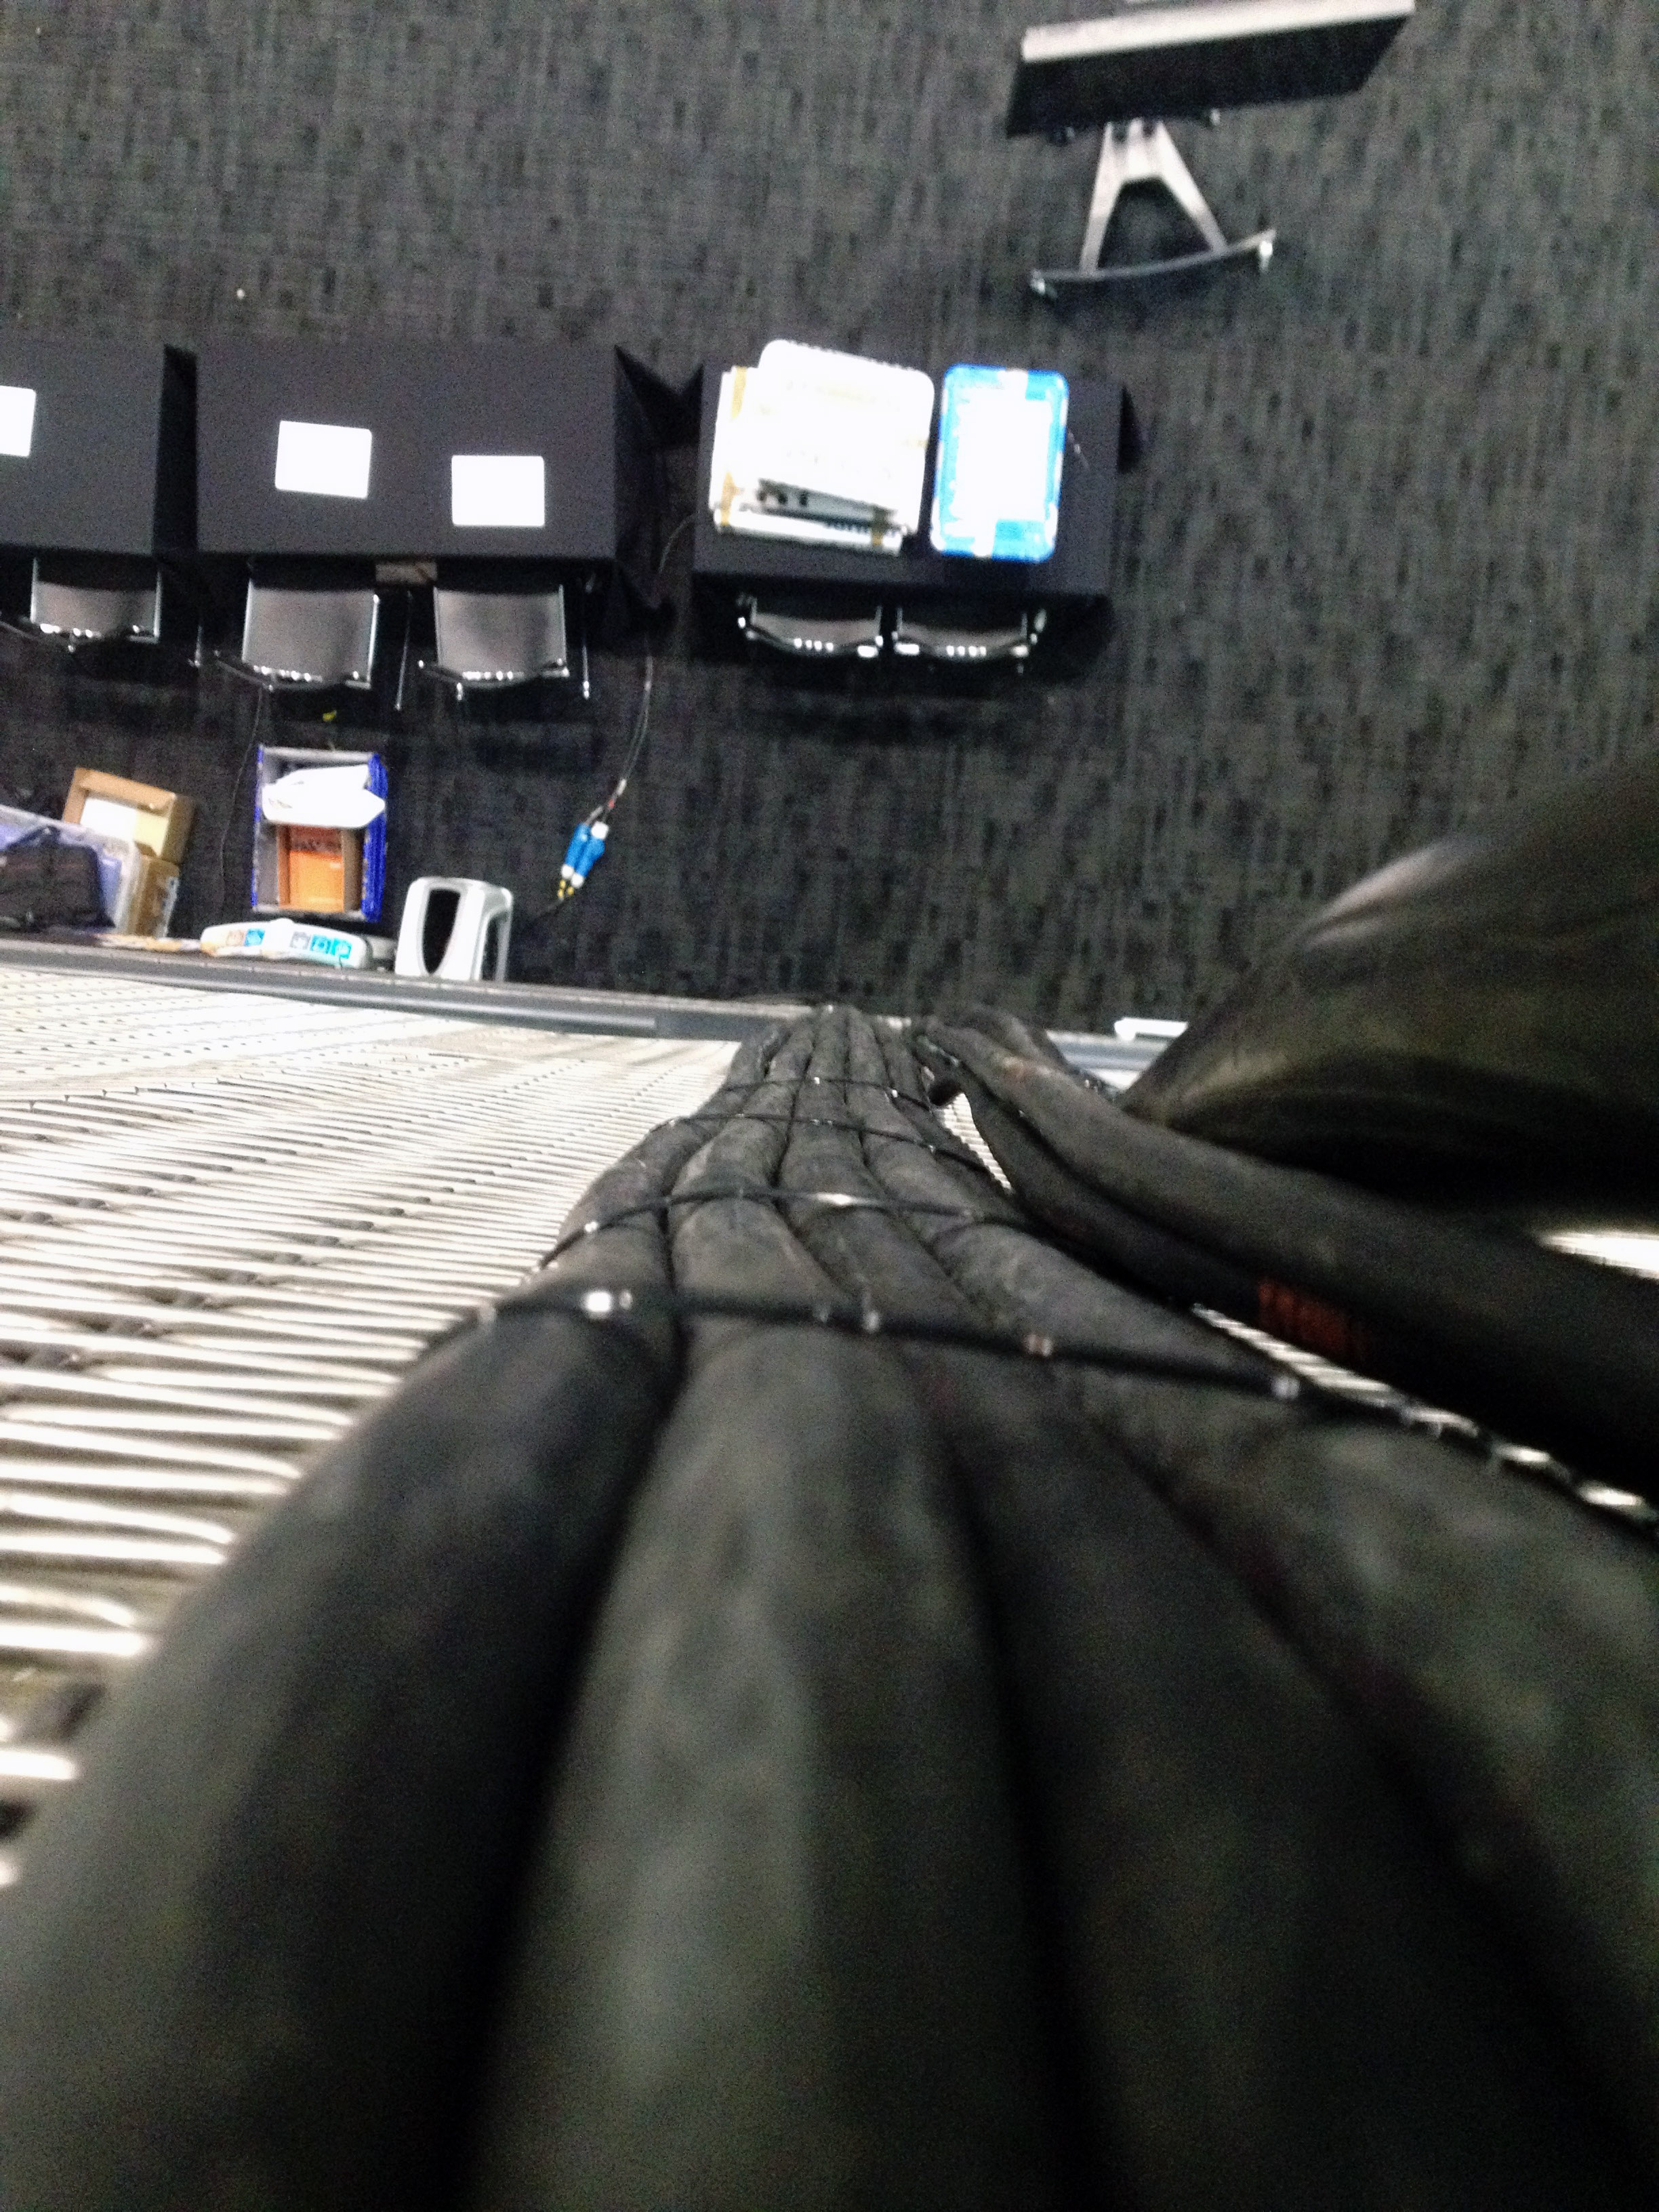
The bulk of the event was cabled using 6 way 2.5mm SOCA with Fan in’s and fan outs at each end, this provided an easy rig and de rig with only 6 SOCA’s being run out to the required locations, and only 3m and 5m 16A extensions to provide final distribution from the fan outs.
Each stall could pull up to 16A with out tripping the individual circuit , but if all 25 had pulled the full 16A, they would have tripped out the incoming breakers as the supply is only protected at 125A 3PH, but 25 stalls all at maximum load would pull 133.3A per phase. Due to the fact that most stall’s were only running a laptop and possibly a tv or small projector, this limit will never be reached, even if a few stalls do draw the maximum available.
During the event today we took some current readings on our main distro and each phase was so low it was unreadable on the meter and the meter’s range was from 50A to 200A.
Today also used the exact kit we have specified for the upcoming 3D Storytelling Conference in late March, and provided a useful insight into any problems we may come across when we rig the next event, in the same space.
Photos after the break:


Penrose Market Fly Away CAD
For the Penrose Market last week we had to create a complete studio in a Rack called a Fly Away. We had to create this Fly Away because the studio facilities at Ravensbourne were in use for another shoot on the same day.

This Fly Away was created using any available kit that we found on Level 9, then using the time in our 208 and 204 lectures to design and build the system with the help of James Uren and the rest of the BET Pathway. After an initial brain storm and specification we came up with a simple system that consisted of:
- 7 SD Cameras
- 1 VT Deck
- 1 16 Channel Vision Mixer
- 1 16×1 Router
- CTP and Jack Field
- 3 Digital DA’s – 1 Analogue DA in the Fly Away
- 8 Digital DA’s – 4 Digital to Analogue Converters in the Monitor Stack
- 10 Monitors
- 1 Large Engineering Monitor
- 1 Test Pattern Genorator
- 2 Wave Form Monitors
The initial brainstorm and scribbled drawing was then drawn up, neatly, onto a large A1 sheet of paper, along with a Cable Schedule and CTP / Jack Field layouts. This large Drawing was then attached to the side of the rack and used as a reference throughout the rest of the project.
 After the project was completed on Tuesday (22/11/2011) we were required as part of our Hardware Systems unit (204) to draw up a full CAD in AutoCad based on the same layers and components that were used to create the CAD’s for the main system in Ravensbourne. This exercise was designed to teach us how to use CAD to create Technical Drawings as well as be confident in reading and updating existing drawings. A screen shot of mine can be found on the right, with a PDF copy of the final cad available for download below.
The technical drawing we had to create was in fact two drawings of two separate systems which interacted closely with each other. The first was the main Fly Away, which was a single rack with all the processing and routing required, and the second was of the Monitor Stack which was required to make the Rack work. This is a major problem with the system as it require one part to work to make the rest work, whilst also doubling the amount of video connections in and out of the rack. However these problems were only noticed after the initial and were not a problem in this project as the monitor stack and rack were being built side-by-side at the same time.
Having so many connection to and from the rack also opened up another problem, which could simply be caused by confusion during the connection of the rack to the video sources and the monitor stack. This confusion could lead to video being sent the wrong way into the system, which could cause damage to equipment, or for example a Camera could be fed into one of the ENG inputs, thus it would appear to work fine on the router but it would have completely bypassed the monitor stack and more importantly the Vision Mixer.
Above I talked about just a few of the problems with last weeks Fly Away, in time I may look into re-drawing the Technical Drawing to alleviate some of the faults mentioned, and when I have re-drawn a new version of the system I will post a comparison between the two.
Download an A1 PDF of my Technical Drawing Here.
Download a PDF copy of my Cable Schedule Here.
IP Stream: Making Progress
Today we made some serious progress in creating an initial IP stream using a few odd bits of kit lying around room 906. The bodged system myself and Scott came up with consisted of:
- 1 x Cisco DME 1000 (Stream Encoding)
- 1 x Sound Desk (Tone Generation)
- 1 x Composite Signal Generator
- 1 x Picture Monitor (Live View)
- 2 x MacBook Pro Laptops (Stream ReEncoding and Viewing)
IP Streaming and NEW Website
Over this last week I’ve been concentrating on creating the new Penrose Market website for the test event which will be held in just under a months time. For simplicity of administration and to eradicate the need for myself to learn new software, I have decided to build the site on the WordPress Blogging system which I already use to run 3 other websites, including this one.
Now the website is designed, built and is stable, I will hand over the content management to the other two members of the interactive team for this event, This frees myself to carry on looking into IP streaming and how to make it possible with the kit currently available at Ravensbourne.